What is was like climbing the infamous Sydney Harbour Bridge!
August 6, 2019
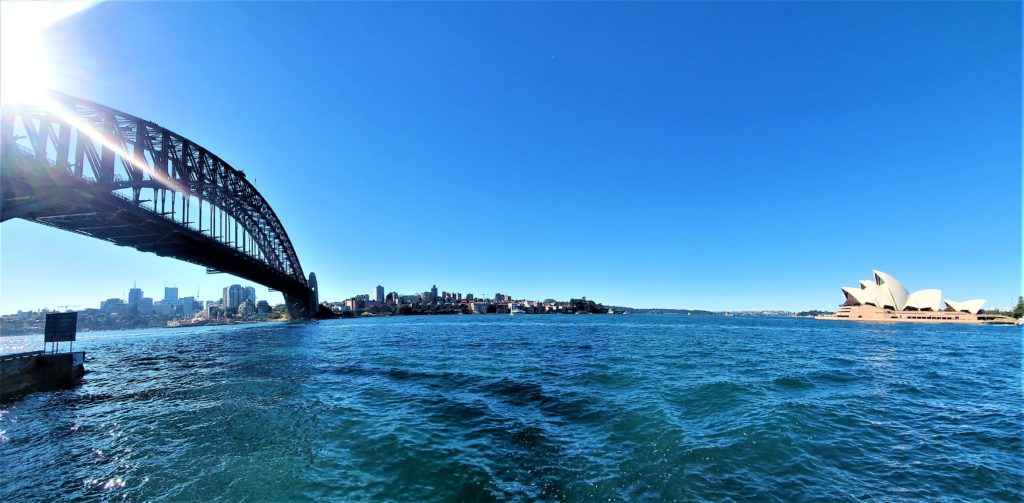
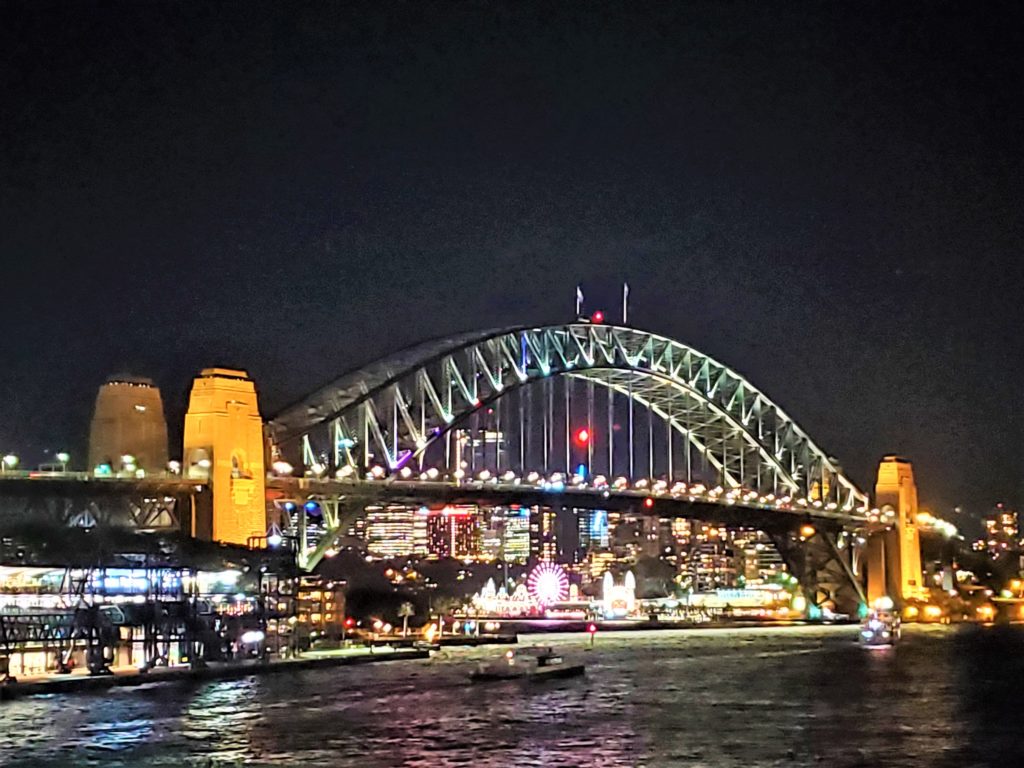
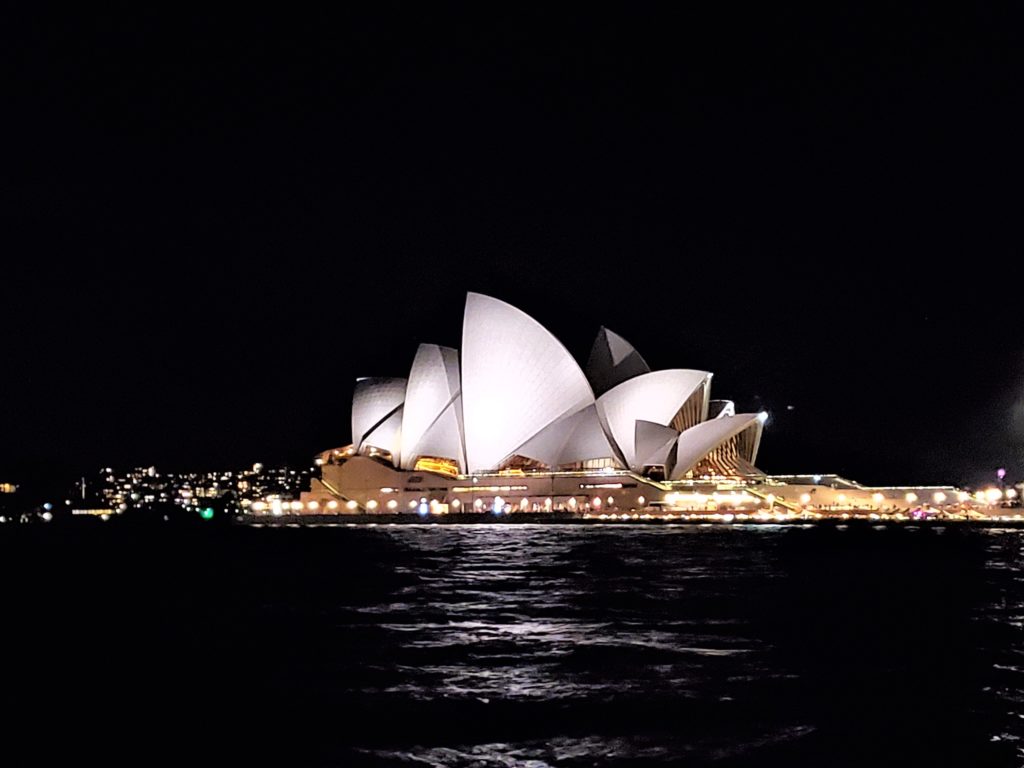
A must-do while in Sydney is the Sydney Harbour Bridge Climb! It is a once in a lifetime experience that offers the best views of the harbor, downtown Sydney, and of course the opera house! Before I left for Australia, I promised my friend back home that I would do the climb while in Sydney. And I wanted to hold up my end of the promise!
Cost
I hesitated to do the climb for only one reason: price. The climb is very expensive for a backpacker, with prices ranging from $268 to $403 AUD (roughly $185 to $280 USD) depending on the type of climb selected. After hearing suggestions from fellow travelers while in Sydney, I decided to do the Twilight Climb, which of course was one of the pricier options at $374 AUD ($255 USD).
Why I Chose the Twilight Climb
At first, I thought I would do the standard climb at whatever time what cheapest, but after hearing suggestions to do the twilight climb, I was convinced! The twilight climb is recommended because you climb up while it is still light out, see the harbor in daylight, watch the sunset from the top of the bridge, then climb down in the dark and see downtown and the harbor lit up at night! For the extra money, I figured it would be a much more enriching experience and would essentially be getting two climbs for a cheaper price (one day and one night). And I was right!
The Prep and Security
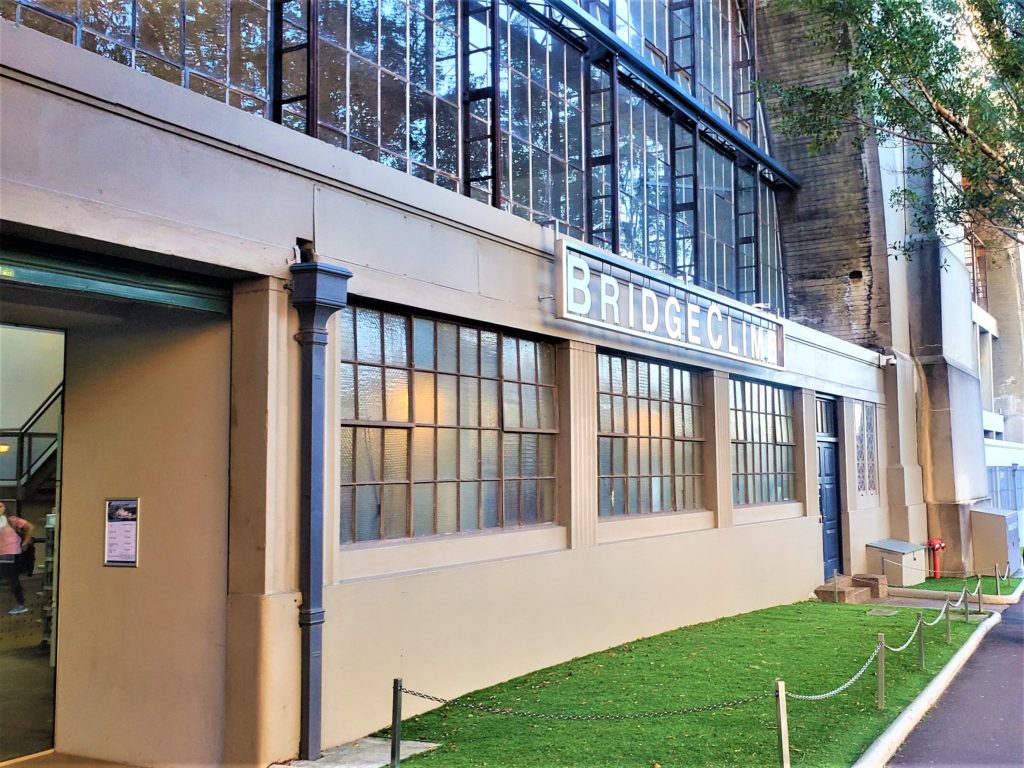
The tours leave every 15 minutes, so you have to make sure you are there on time, preferably early. Once you check-in downstairs, you go upstairs to a small waiting platform 5 minutes before your tour time. When your tour time is called, you are then directed into a small room to go over a safety briefing.
In this room, we had to fill out a form and sign a waiver. The group leader then went over the process and what we can and cannot bring/wear on the climb. They are EXTREMELY strict! No bags, phones, watches, bracelets, nothing in your pockets, no tissues, no bobby pins, not even hair scrunchies! The only things you can keep are inhalers and glasses/sunglasses, which are then attached to strings connected to your suit.
Before we could move on to the next room, we all had to do a breathalyzer test. You cannot have any alcohol in your system when you climb. I passed with a solid 0.0, then directed into a room where I was given a jumpsuit. I liked to call it the flying squirrel suit. Haha
Next up, we were escorted into a large room full of lockers and changing rooms. You have to leave all your possessions in a locker, but they all have keys on string necklaces that you can take with you on the climb. The group was directed to a row of changing rooms where we could put on our jumpsuits. I thought it was a bit odd to need a changing room to put a jumpsuit over our clothes, but I later found out that during the summer months when it is extremely hot, climbers wear only the suit over their underwear. So I was very thankful that I decided to do this climb during their winter!
After we were all suited up, our final step of security was to pass through a metal detector! I am not joking, we seriously had to go through a metal detector!
Gearing Up!
We were escorted via a metal walkway over the main entrance of the bridge climb and into a large chamber. Here we were strapped into our harnesses and other equipment. The other equipment included:
- a hankie (tissues not allowed so you get an old fashioned hankie clipped to your suit instead – very thoughtful)
- baseball cap (you get to keep this as a souvenir!)
- beanie (optional – for the cold)
- fleece jacket (a packable fleece jacket that gets hooked to your harness)
- headlamp (since we would be descending in the dark)
- and finally a headset (so you can hear the tour guide).
Practice Makes Perfect
Once we were all geared up, we then had to practice climbing up and down a mock set up of the stairs. To be honest, the stairs were more like ladders and harder to climb than they looked! For safety reasons, only one person is allowed on a section of stairs at a time. We also practiced attaching to the static line, turning around correctly when descending (so you do not wrap yourself up in your tether), and detaching from the static line.
Off We Go!
Before we ventured out the doors onto the bridge, we were brought to a small antechamber and were given the option to drink from a water fountain. I thought this was a great idea because especially during the summer months, it is important to stay hydrated while doing physical activity. And especially when you are not allowed to bring a water bottle. I saw a total of 3 water fountains while on the bridge.
We also had to decide which order we were climbing in. Once you are attached to the static line with your tether, your spot is concrete until the end of the climb. There is no way for you to break off or move places once you are on it. So make sure you are standing next to who you want to, especially if you are part of a group!
The static line and tether made the whole experience feel secure. I never felt scared while climbing because I knew that the tether would hold me if I fell. I am not usually scared of heights, but this security feature helped me feel extra secure.
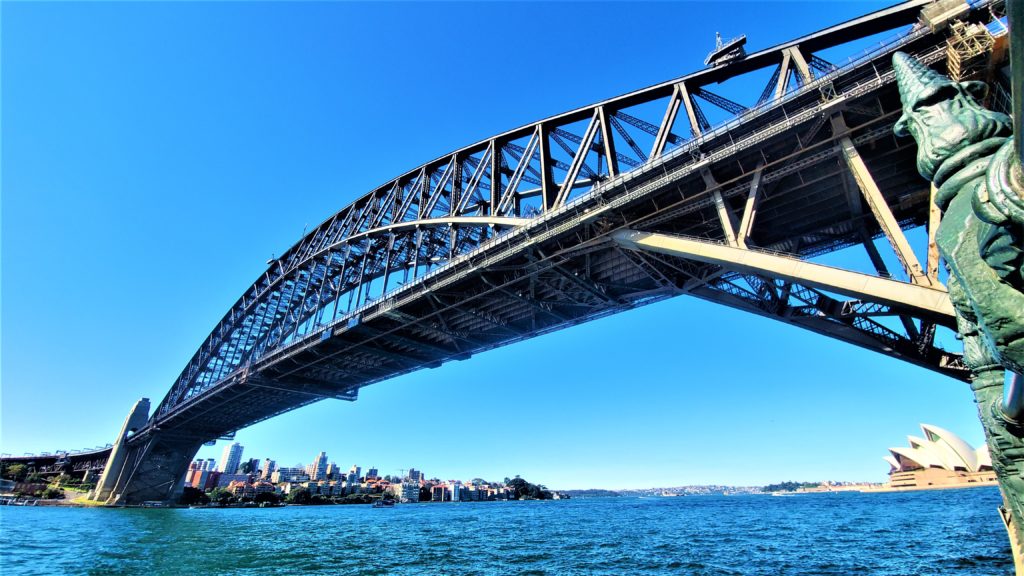
The first part of the climb is underneath the bridge until we reached the pylons. The planks are rather narrow and there were a few spots where we had to squeeze through, duck, and step over a beam at the same time.
The Scariest Part
The only scary part of the climb, for me, were the stairs. It was great that we practiced on them beforehand because I felt confident climbing them physically. The scary part was that I felt like I was alone. Since only one person can be on a segment at a time, I did not see anyone during the four sets of stairs we had to climb. Plus at this point, we are climbing by cars and trains. When the trains passed by, the stairs would shake, making it extra scary!
Climbing the Arch
At the top of the ladders, comes the easy part of the climb. Climbing over the arch of the bridge was the best part of the climb because you are finally able to see the incredible views of the harbor. On the arch, the steps are shallow so it is not too difficult of a climb.
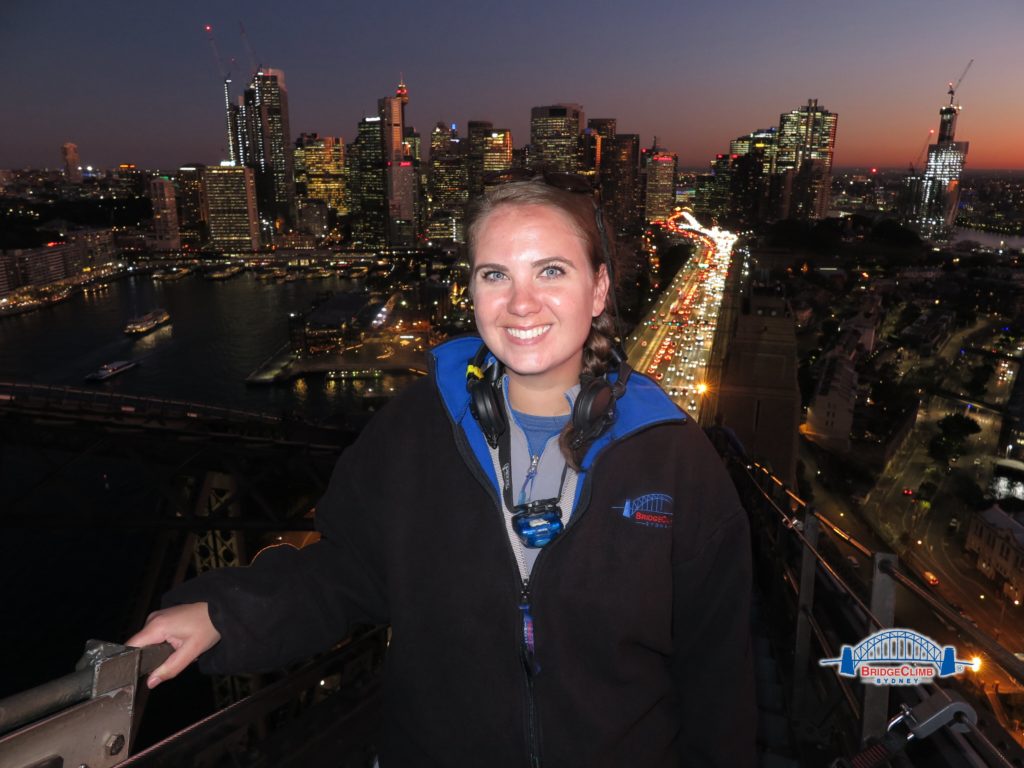
About halfway up we stopped so the tour guide, Jack could take pictures of us with the Opera House in the background. It was very beautiful because the sun was starting to set.
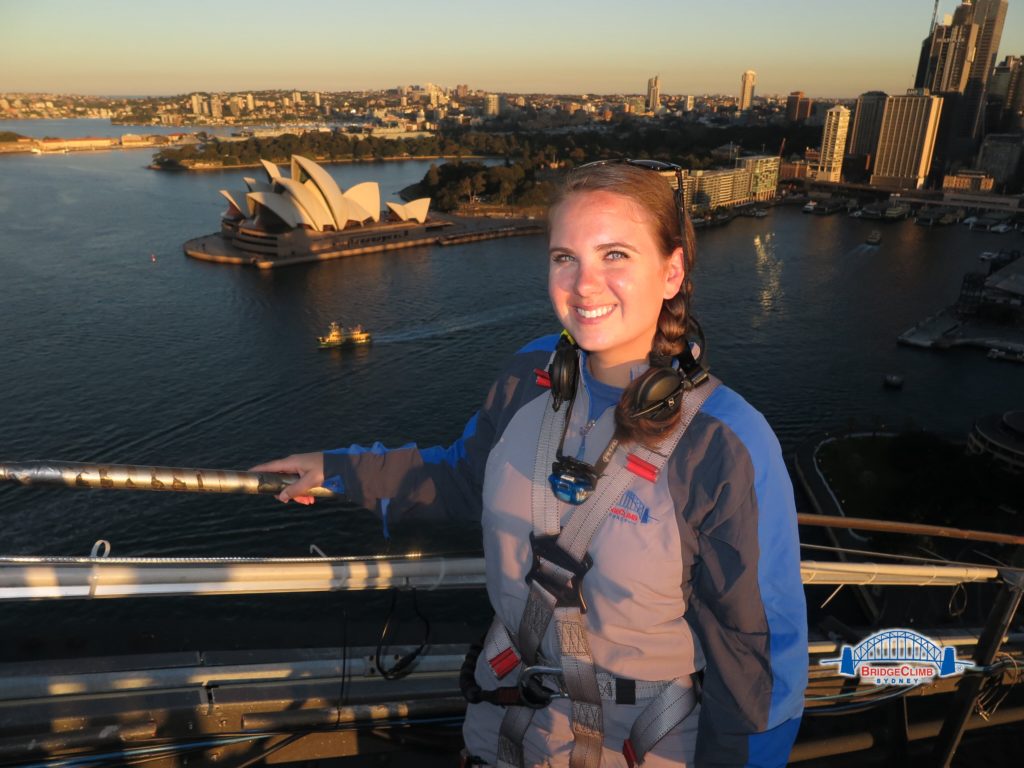
We then reached the top and stayed there for about 15 mins, just enjoying the sunset. To the west, we watched as the sunset over the Blue Mountains. It was a beautiful sight! Our tour guide informed us that once the sun hits the top of the Blue Mountains, it only takes 2 minutes and 33 seconds for the sun to fully set. And he was right! It happened incredibly fast and then all of a sudden it was freezing out! I ended up needing my fleece!
The Descent
After the sunset, we crossed over to the other side of the bridge and started our descent. As the tour promised, it was amazing to see the harbor and downtown Sydney lit up with lights. Climbing down the arch was very easy, but once we got to the stairs/ladders, it was more difficult and also scarier than the ascent. The headlamps were essential to see where you were going.
Photos
Once back inside, we de-geared from all the equipment. There was a lot! They then led us to an area where we can wash our hands, which was much needed after hanging on to the metal railings! After changing out of our suits and collected our possessions, we were then escorted to a room where we could view and purchase photos of the climb. For completing the journey, you receive one free, physical copy of the group photo on top of the bridge. The prices for additional photos are rather expensive. You can choose from 1, 3, or 10 photos printed or on a USB. I ended up getting the 10 photos package for $60 AUD (roughly $40 USD). As I said, the price was rather steep.
My Recommendation
Overall, climbing the Sydney Harbour Bridge was a positive experience and I had a lot of fun doing it. The guides are very knowledgeable about the bridge and its history. I was surprised by the amount of security to do the climb, which is a good thing. I am sure things have happened in the past that have warranted its need.
The price for this experience seemed a bit overpriced for what it was. Add on top of that the expensive photos and it becomes even more excessive. Putting price aside, I encourage those that would like to do it, please do, it is a once in a lifetime experience!